Intoduction
This tutorial will explain the use of the 'boulder' method, a method for for doing terrain. This method is very simple, easy and generaly looks nice when done right.
I first got the idea of this method when play Opposing Force, in the outside areas (Such as the one with the mortar).
The aim of this method is creating cliffs and rocks using boulders.
Step 1: Create the Boulder
First off, open Hammer.
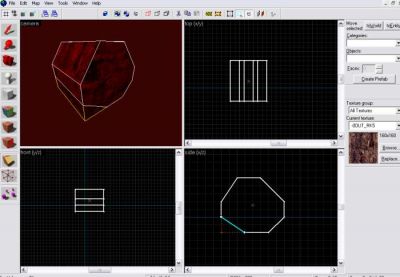
Now make a cube. Size doesnt matter, since you will be transforming it as you go along. Texure the cube with a rock texure, or any texure you want the cliff to be.
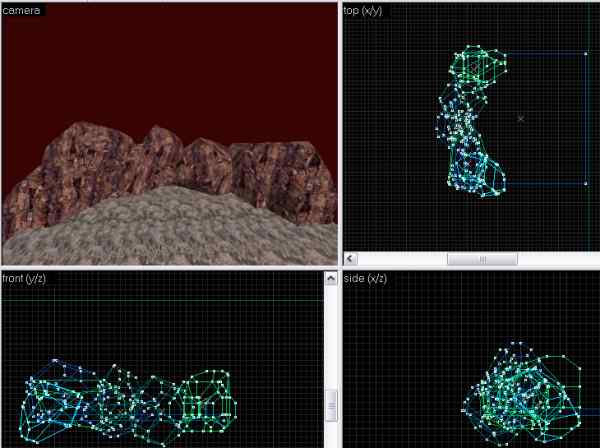
Now onto shaping the boulder. Using
vertex manipulation and
clipping create your boulder. Click
Check for Problems to see if you have any
invalid solids.
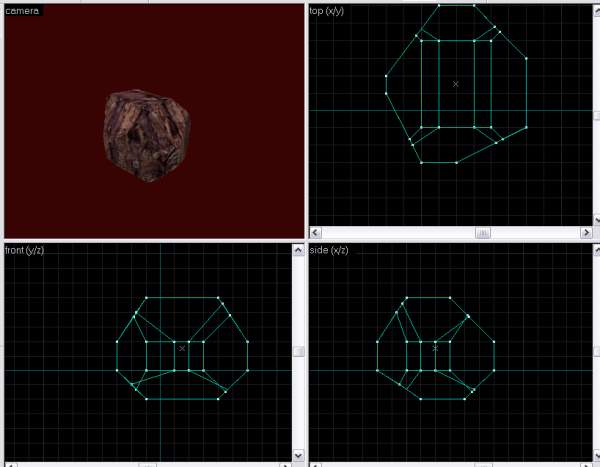
When you are finished, your boulder should look something like this:
Step 2: Creating the cliff
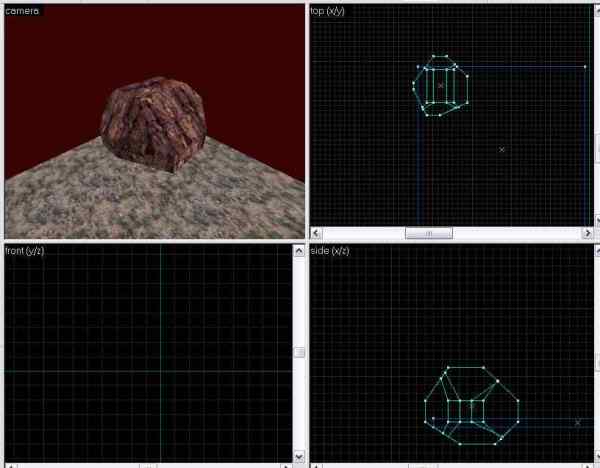
Create a flat piece of ground (Or just add it to the map you are working on) and
move/copy the boulder onto it.
Now onto turning it into a cliff! Copy the piece, and add it next to the existing boulder. Do this a few times. Each time rotate it, resize it, flip it, even carve it more or alter it's vertices. Make it higher, longer, lower - Untill a cliff is starting to form.
Avoid repetition by altering it as said above, and for the finer detail make the boulder smaller, and just add it to the cliff - thus making it looking bumpy.
Be sure to check for problems, because invalid solids (While they dont often happen with this technique) can occur.
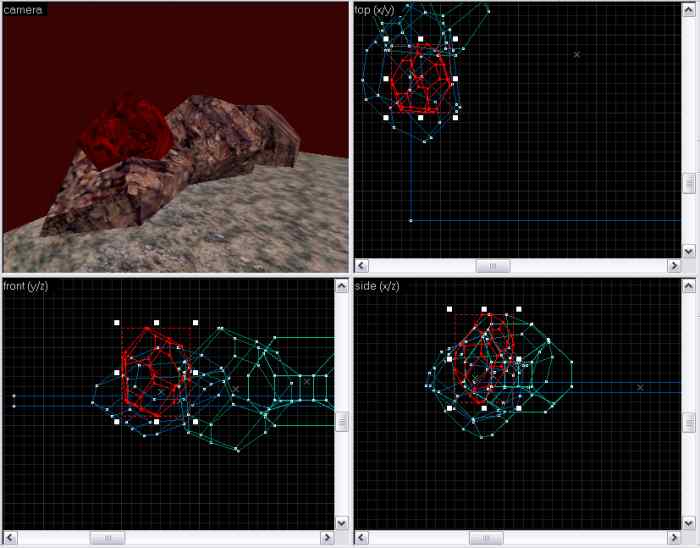
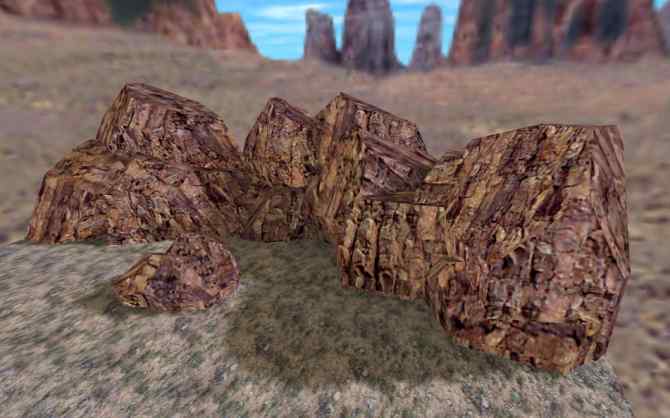
You eventully should get something like this.
A nice realistic looking cliff.
Step 3: Optimisation
The nice thing about this method is that you dont normaly get a high polygon count, because it is generaly simple shapes, but it is still good to optimise.
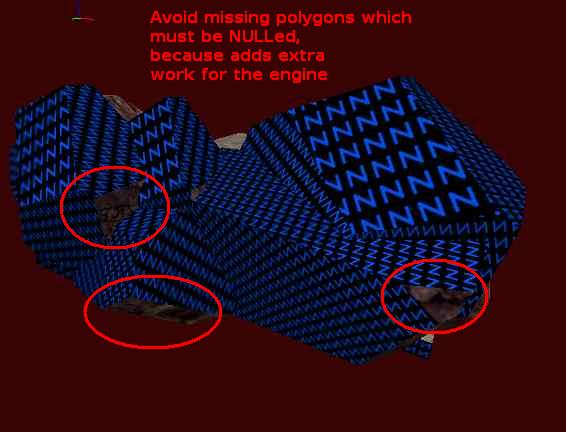
Obviously the best way is to add the
NULL texures to the faces you cannot see. If you do experience low FPS, even with the NULL texures, consider
rescaling the rock texure to
1.5 or even
2.0.
Step 4: Conclusion
When you have done everything you want to the cliffs - optimised it, added the extra little details, added a skybox - compile it! In the picture I have used a
light_spot for the sky (It generaly looks better than
light_environment)
and added a boulder in the middle of the map (Consisting of 3 of the 'base' boulders).
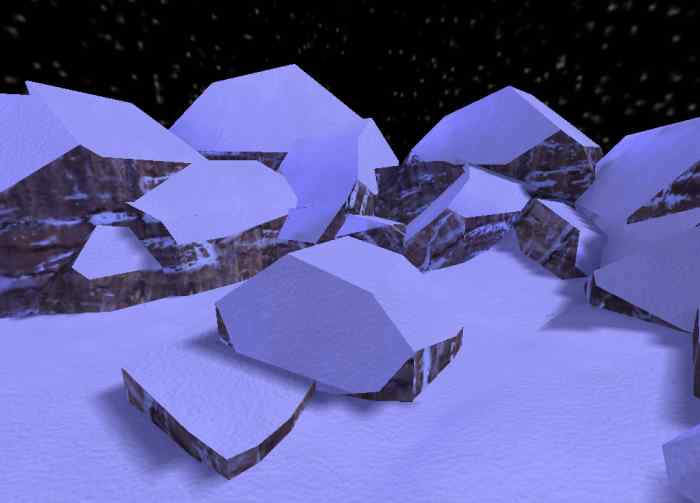
This method is very simple to use, and also very practical, because you can use it in nearly any position or angle. The picture below shows a map I made, in which I used snow texures, and made the cliff's snow capped.