In this tutorial we will create a floor tile texture with some bumpmapping.
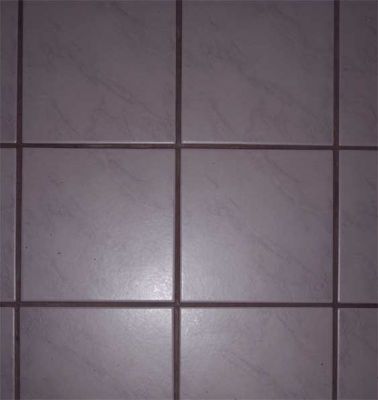
As source texture i prepared a picture of my kitchen floor - looks like this:
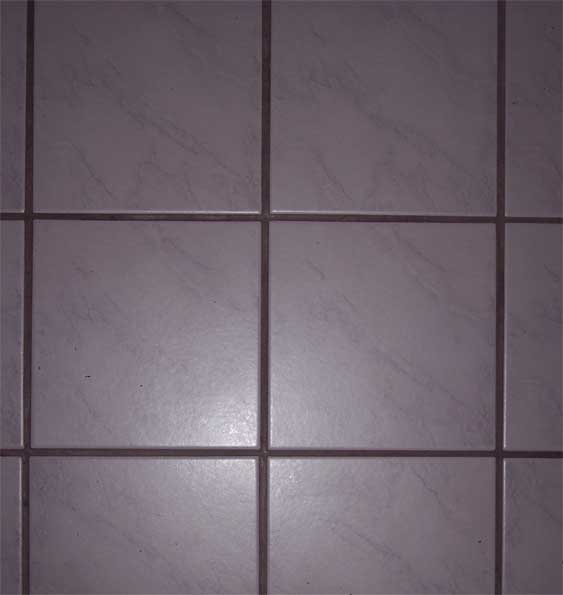
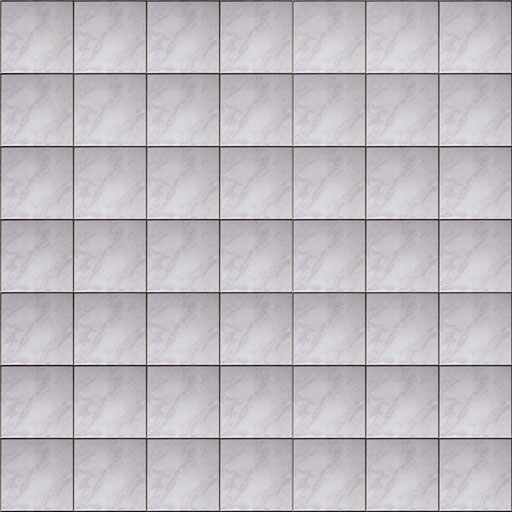
The final source Texture:
To create bumpmapping on this texture, we have to create a second texture file which will be the "normal" texture for our floor texture. To do so in photoshop, simply duplicate your image and name it "<name>_normal".
I found a great tool developed by nvidia (
http://developer.nvidia.com/object/nv_texture_tools.html). You have just to copy the nvidia filter into your photoshopPlug-InsFilters directory (and restart photoshop if started). Now you will have a new menu entry under Filters called nvTools->NormalMapFilter...
Open your normal map texture (name always ends with _normal) and open the NormalMapFilter for it. What the filter is doing is finding highlighting the edges and creating a normal map with height indicators. You can manipulate the parameters easily and you can play around with the parameters and preview them! To do so, simply click on "3D Preview":
The most important parameter is the "scale" parameter. This one controls how much height will be applied to our texture.
For our sample a height of 4 will be enough, i used "4 samples" as filter option and "average RGP" as source.You can play around a little bit with the source and scale. For example, a "maximum RGB" will give us a sharper edge.
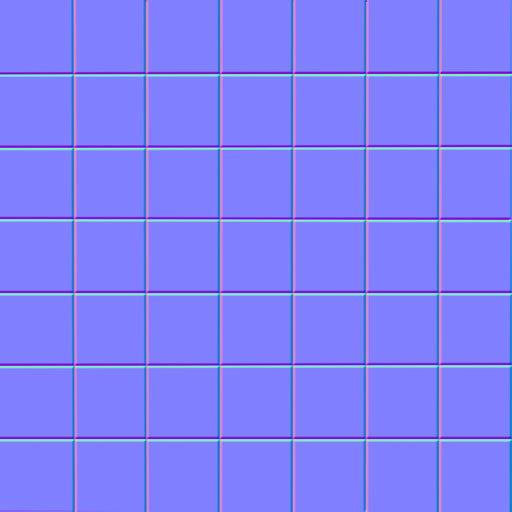
The result will look like this:
Now create the textures with VTex.exe. Save both texture sources as 32bit tga files in a sub-directory of /materialsrc e.g. /materialsrc/tut (For this tutorial i called the texture groundTex_normal and groundTex_normal) (Please manually create also the appropriate subdirectory in the ...materials folder - vtex will not do this for you automatically!). Drag-drop them on the vtex.exe shortcut on your desktop. VTex has create a txt file for both texture files. Open the goundTex_normal.txt and define this texture as "normal" and put a bumpscale:
"normal" 1
"bumpscale" ".025"
After this, let vtex compile your textures again!
You now have the compiled textures in you materialstut folder.
Create a empty txt file in this folder and save it as <textureName>.vmt (without _normal!).
Tell the engine to render our texture with LightmappedGeneric Shader, to use the standard texture groundTex as basetexture and the normal mapped texture as bumpmap:
"LightmappedGeneric"
{
"$basetexture" "tut/groundTex"
"$bumpmap" "tut/groundTex_normal"
}
To get specular bumpmapping (which looks much better on DX9 environments), you simply have to set the $envmap property in the texture definition:
"LightmappedGeneric"
{
"$basetexture" "tut/groundTex"
"$bumpmap" "tut/groundTex_normal"
"$envmap" "env_cubemap"
}
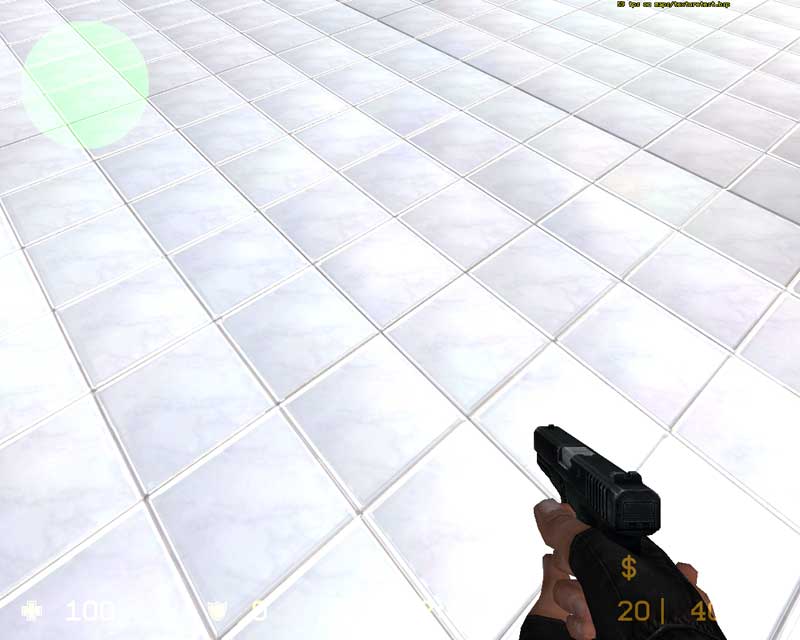
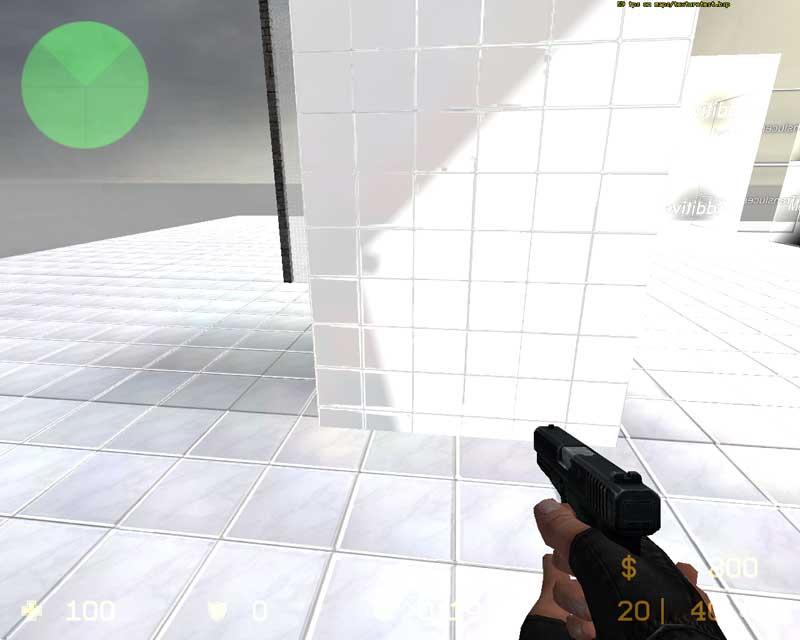
Restart Hammer, apply the new texture to a surface in you map, copy your tut folder from ...sourcesdkcstrike_sample_contentmaterials to ...counter-strike sourcecstrikematerials. Compile and run the map et voil?: