The crazies have broken out of their "terrorist cells" at the courthouse, and they're planning to bomb the place to facilitate their escape. The SWAT team, of course, has just arrived to stop them.
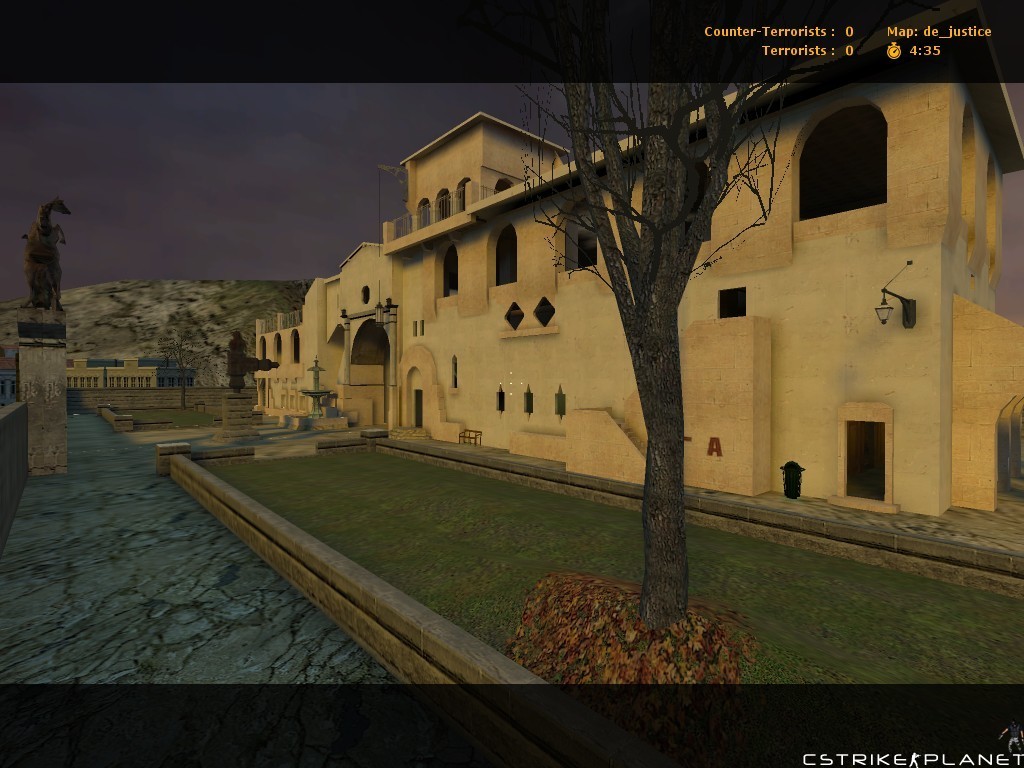
The terrorists can either plant the bomb at the base of the statue above the courtroom or inside the main security control room just below the prison. The statue is closer, but it's a very open area, with enemies coming from all directions. The control room is harder to get to, but it's more easily defended once the bomb is planted.
There are 40 spawn points. There are multiple ways to get to either bomb site, including from the outside courtyard and from the basement (to bomb site B). Sniper points are everywhere, so watch your head.
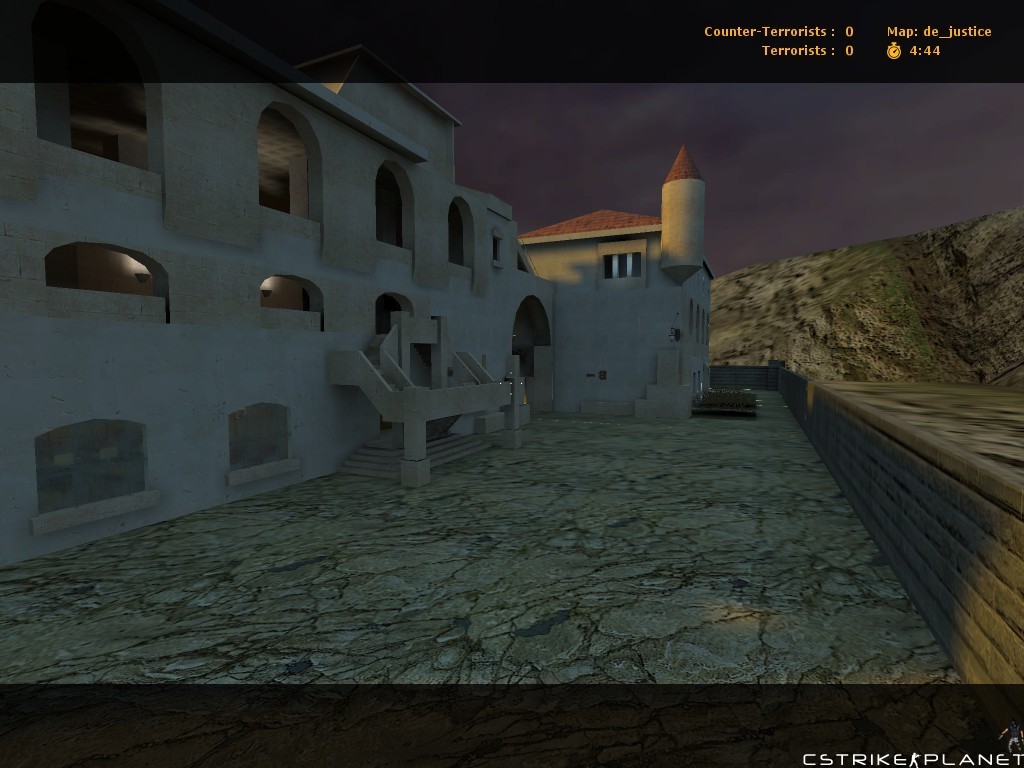
There is an alternate way for the terrorists to get to bomb site B. After existing the prison spawn point, the terrorists can turn right into the third-floor balcony area instead of running down the corridor to bomb site A.
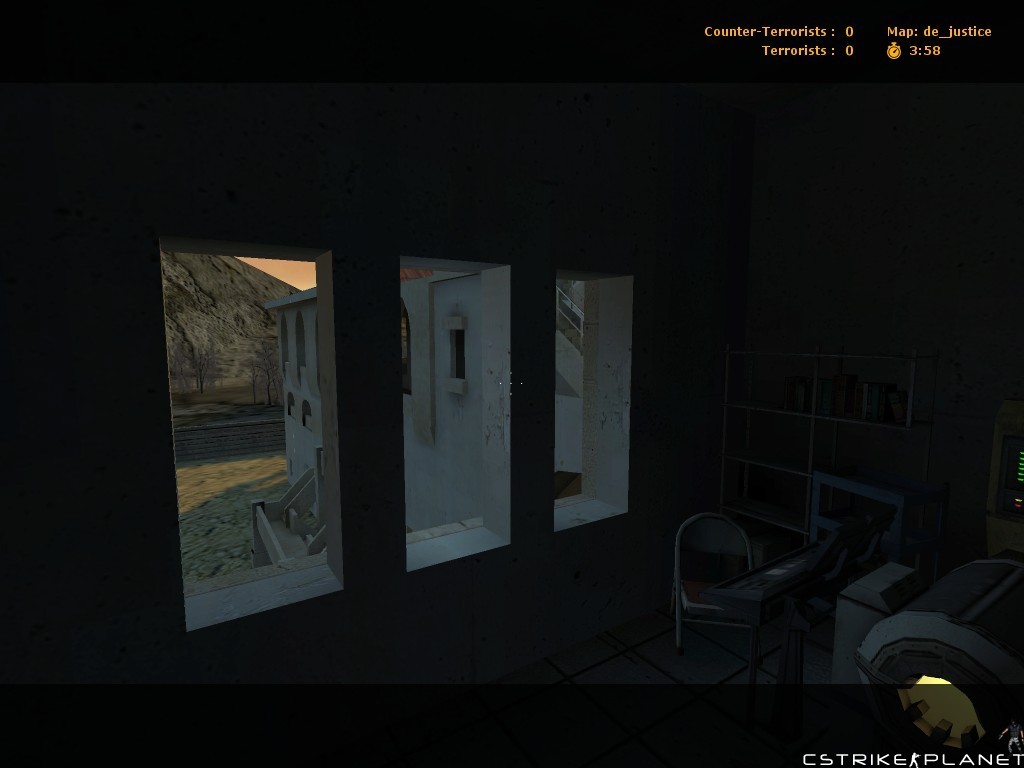
In the balcony, use the crates to jump onto the fence. You can then jump onto a lamp fixture extending out from the side of the building. From the light fixture, you can then jump onto the perimeter wall, and then jump down to ground level without suffering damage.
This route is trickier, but also sneakier. The basement also provides a detour to the bomb site. You can surprise the CT by showing up at bomb site B largely undetected.
Distance from spawn point to bomb site:
CT to A: 9 sec
T to A: 11 sec
CT to B: 16 sec
T to B: 22 sec