You?ve probably noticed how annoying it is to have such an obvious border between grass and any other solid material like concrete or pavement. The solution is simple, though: blending two textures (If you don?t know what the heck I?m talking about look-up a displacement tutorial and read about alpha masking).
Here?s what you have to do:
Create an empty notepad document, paste the following text in it (quotes and everything) and save the file as a .vmt.
"WorldVertexTransition"
{
    "$basetexture" "nature/snowfloor001a"
    "$basetexture2" "concrete/concretefloor037a"
    "%tooltexture" "nature/snowfloor003a"
    "%keywords" "blend"
}
In the example above, the main texture is ?nature/snowfloor001a? and ?concrete/concretefloor037a? is the alpha that will be applied to the base texture. In this case it means that you can paint a road on the snow surface. The ?snowfloor001a? texture comes with HL2DM but if you?re working with something else look up one of the non-blending grass textures that come with HL2 (like ?nature/grassfloor002a?).
The beauty of blending two materials that already come with the game you?re working for is that there is not need to create a .vtf (valve texture file) at all, the .vmt being enough to get the texture working.
The rest of the strings in there are somewhat optional. For example, ?%tooltexture? defines what the texture will look like in the editor?s texture browser so you can write any texture path you want as it really doesn?t matter. I even left it blank once and it still worked. Still, it might be a good idea to have one of the two blending textures as the tooltexture so that you?ll be able to find it faster. You might also want to give it a relevant keyword. The example?s keyword is ?blend? but there are many other textures with this keyword so giving it a unique one might prove more efficient.
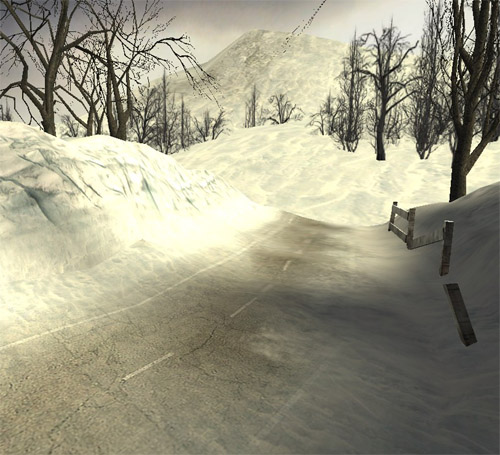
That?s all you need to do. Complicated wasn?t it? For a minimal amount of effort and 20 spare seconds you can have very nice results. Here?s how the example texture looks: