Say hi to our newest member, RichardELDEN!
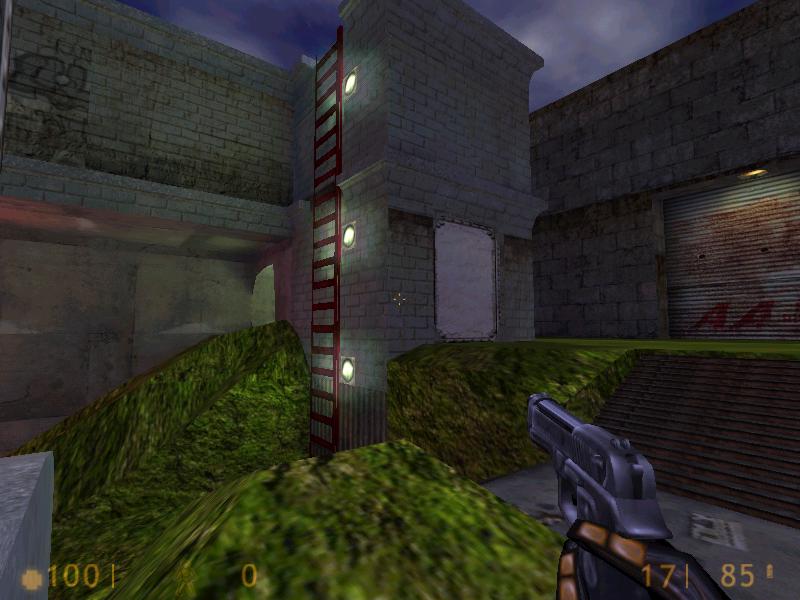
 dm_hunter
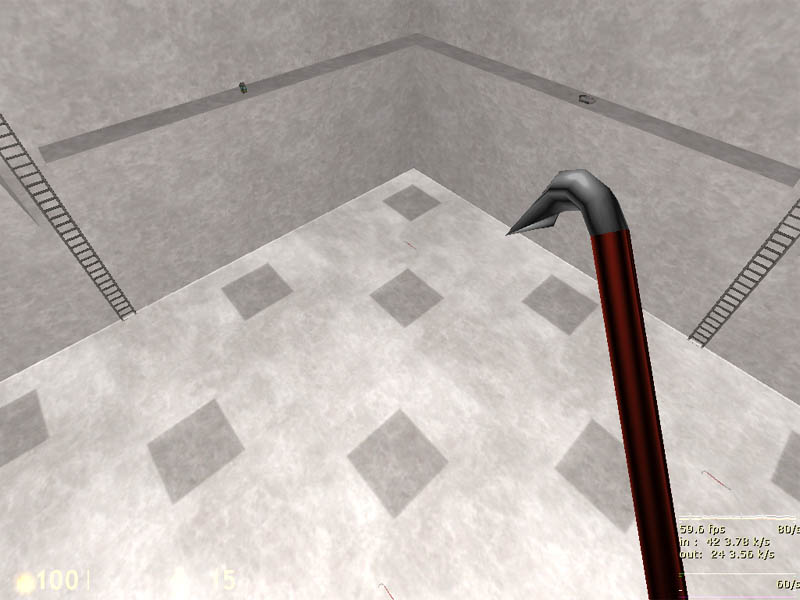
 crowbar_box
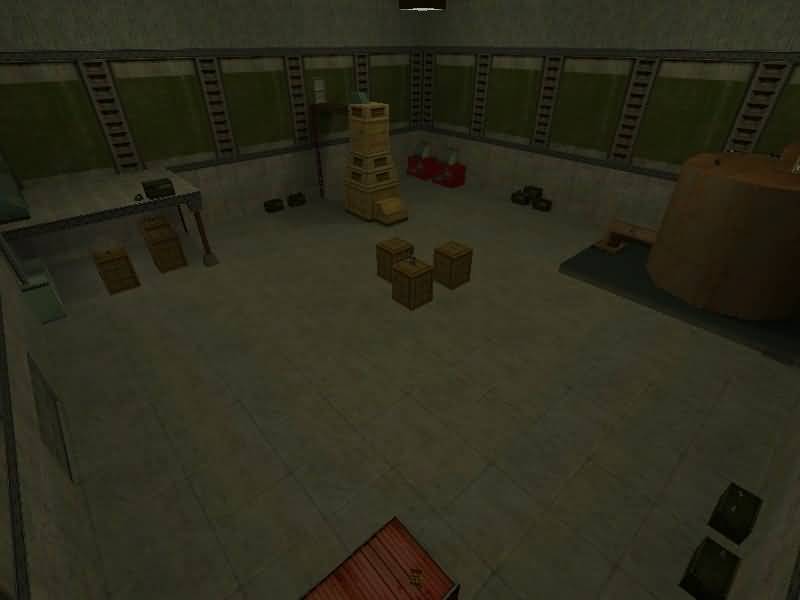
 Blast Box
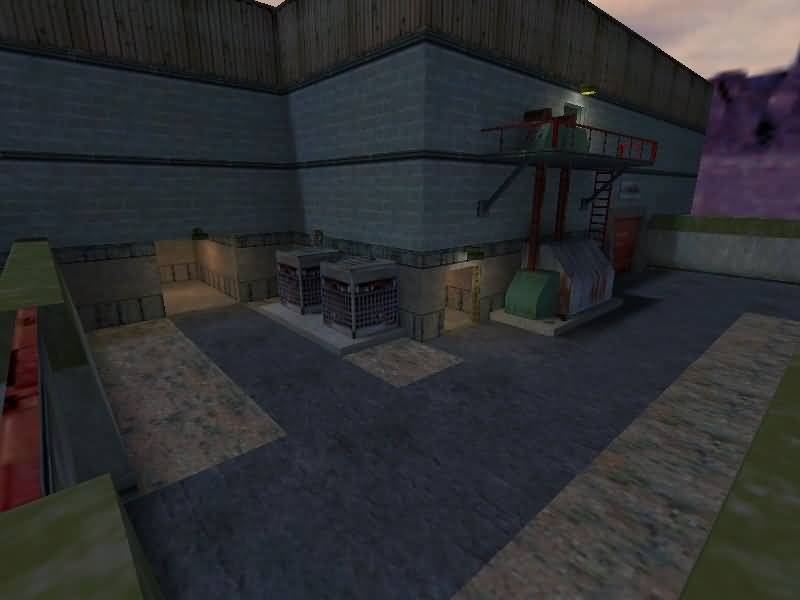
 Power House
 Penitentiary (HL1DM)
 Maximillian (HL1DM)
Mad Bucking Fastards (HL1DM)
Talos (HL1DM)
TNT (HL1DM)
Jaw Breaker (HL1DM)
Bone Collector (HL1DM)
Eliminator Jr (HL1DM)
Maximillian (HL1DM)
Mad Bucking Fastards (HL1DM)
Talos (HL1DM)
TNT (HL1DM)
Jaw Breaker (HL1DM)
Bone Collector (HL1DM)
Eliminator Jr (HL1DM)

